Before keto, apart from meringue, cheesecake was one of my favorite cakes. Oh moisten, fluffy and almost velvety cheesecake (any kind) melting in your mouth – that’s heaven.
Most of the keto cakes recipes are based on almond flour. That what annoys me in keto – you can replace flour only with two options – almond flour or coconut flour. First one is very expensive, consistency and properties of the other one, are so much different than traditional flour, that it’s impossible to get the same result. Oh I will never forget this disappointment, trying to make pizza or pancakes with coconut flour. After few defeats I decided, I’m not gonna fool myself that with coconut flour I will achieve the same outcome.
But some time passed and self isolation has awaken my baking desire. So I started looking for inspiration for using coconut flour in a cake. And I found this recipe, did some adjustments, wouldn’t be myself if not changing something here and there (I didn’t have sour cream for example). And surprisingly for myself (as I told you in my semifreddo recipe, happens to me to be a master of disaster when it comes to baking) the result was very good.
Of course with coconut flour you cannot expect this velvety texture, when using traditional flour. However it came out nicely moist, quite light but also not very sweet. Consider that I’ve added tiny bit of sugar replacement comparing to original recipe. So if you decide to make it yourself, and you want it to be sweet as traditional cheesecake, definitely add more.
This attempt was a success, without doubt. Encouraged me to experiment more, so expect more recipes like that in the near future. Especially that looks like isolation will last for few more weeks, so we all need something to comfort us.

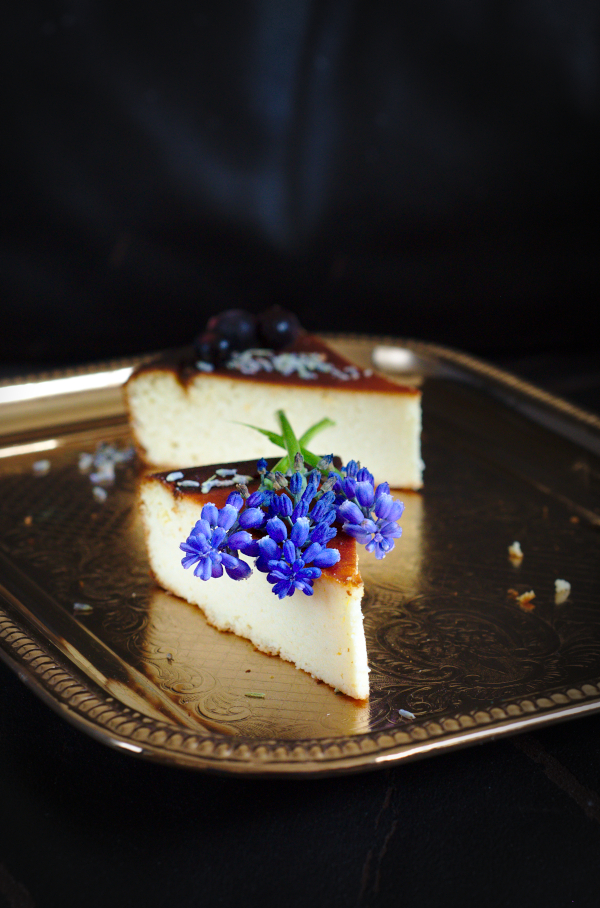
keto coconut flour cheesecake #glutenfree #lowcarb
Remember that all the ingredients should have the same room temperature (although my cream cheese and mascarpone was straight from the fridge).
Also a note: I use the same 250 ml cup to measure all ingredients (it’s regular glass size), so if you see 1/2 cup means it’s half of 250 ml.
INGREDIENTS (for 7.5 inch round silicon baking tray)
- 4 free range eggs (medium size)
- 400 g creme cheese (I used two packs of Asda Creamy Original Soft Cheese)
- 3 tbsp clarified butter
- little bit less than 1/2 cup of xylitol (my measuring cup is 250 ml)
- 1/2 cup coconut flour
- 1/3 cup mascarpone
- pinch of natural rock salt
- 1 tsp Madagascar vanilla extract
- 2 tsp baking powder

DIRECTIONS
I’ve melted butter (of course I forgot to take it out from the fridge early enough to get soft) and left it for a while to cool down. It worked, so you can do the same.
Preheat the oven to 170°C or 150°C with the fan. My oven has only fan option so I always have to lower the heat. But as I always say – every oven is different so keep an eye on it!
Beat the eggs using handheld mixer, when they become nice and fluffy add sugar replacement and beat for another while, so the sugar will combine nicely. Then add creme cheese, mascarpone, pinch of salt, vanilla, baking powder and butter. Mix for another while until it gets uniform.
At the end add coconut flour. Do it slowly, and wait a while before you add more because coconut flour absorbs plenty of liquid. We don’t want it to be too thick, because cheesecake will get dry. Batter will be quite thick, but you should be able to pour it to the baking tray. Kind of consistency like a cottage cheese you can buy in the supermarket.
If happened that you’ve added to much coconut flour – add some milk.
I used round silicon baking tray, and baked for about an 1 hour (in this case could be even less because I’ve noticed that when I bake in silicone trays it’s quicker). If you’d like to use loaf baking tray, you’ll need to bake for longer. Silicone baking tray doesn’t need to be greased, but if you use traditional one grease it with butter.
During baking it will grow and start to crack on the surface – that’s normal. Later on will collapse more or less, and it’s also normal, so no worries. How to check when cheesecake is ready? Take a toothpick or a skewer (I always use wooden skewer) and insert into cheesecake, if it comes out clean – it means it’s ready. If you still have some batter leftovers – means that it needs couple more minutes.
If your cheesecake gets to dark on top and it’s still not ready, you can cover it with tin foil or piece of baking paper.
Don’t take it out straight away after finish baking (it might collapse even more). Let it slowly to cool down, I always put a wooden spoon between the door, and leave it for an hour or two.
After all this hassle (oh it can be stressful!) you can finally enjoy a piece of cheesecake 🙂